On Windows 10, you need to rely on a third-party application to get the Widget support. Actually, there’s an app available for Windows 11 that brings fully customizable widgets to your desktop. BeWidget is an app that lets you create time, date, photos, app shortcuts, finance, and weather widgets and place them on your Windows 11 desktop screen. However, on our testing, we found that BeWidgets is even compatible with Windows 10. Also read: How to Use an Animated GIF As Desktop Wallpaper in Windows
Steps to Add Customizable Widgets to Windows 10/11
That means you can use BeWidgets to bring widgets on your Windows 10 operating system as well. So, in this article, we will share a step-by-step guide on how to add customizable widgets to the Windows 10/11 desktop. Let’s check out.
First of all, open this webpage and install the BeeWidgets app on your device. You can also install BeWidgets on your Windows PC directly via Microsoft Store.
Once installed, open the BeWidgets app on your Windows device.
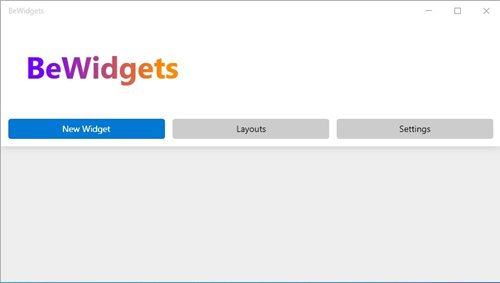
Now, you will see an interface like below. You need to click on the New Widget button to create a new Widget.
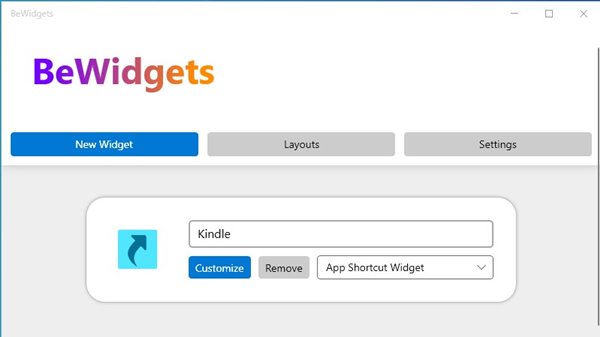
You need to name the new widget name and use the drop-down menu to select the Widget type.
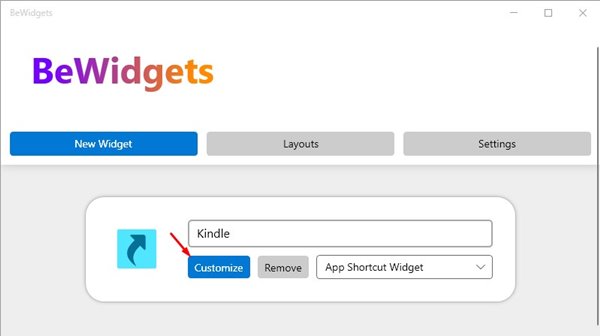
Now, click on the Customize button to customize the widget.
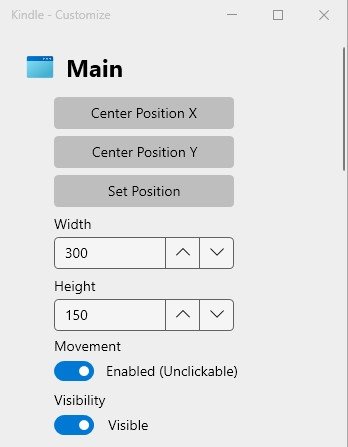
You can adjust the Widget position from the main section.
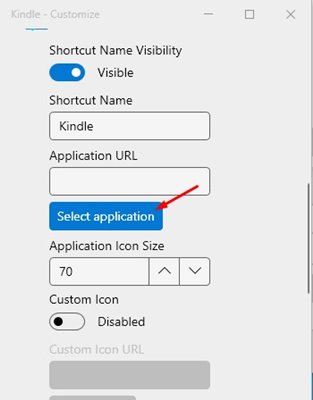
Now scroll down the Preferences. Next, click on the Select Application button and select the Kindle executable file.
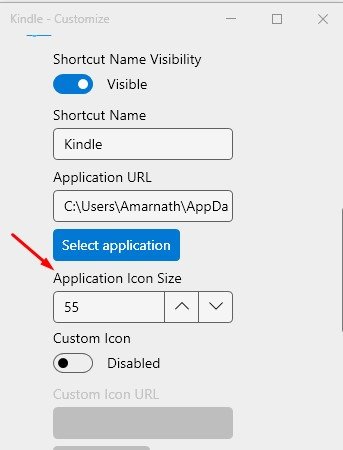
Next, you need to adjust the Widget icon size. Adjust it as per your wish.
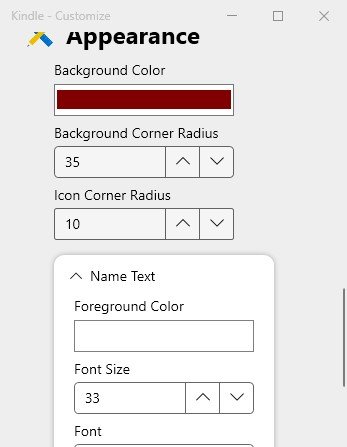
Now scroll down to the Appearance. Here you can alter the background color, corner radius, font weight, font style, font size, and many other things.
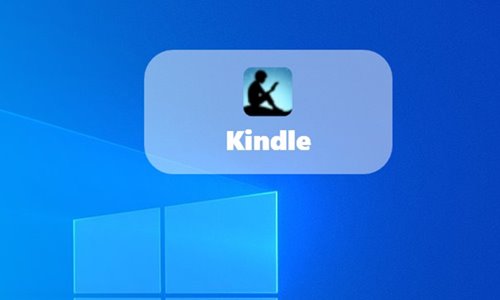
That’s it! You are done. This is how you can create customizable widgets on Windows 10/11.
So, this guide is all about how to add customizable widgets to Windows 10/11 desktop. I hope this article helped you! Please share it with your friends also. If you have any doubts related to this, let us know in the comment box below.
