If you use Gmail for business purposes, you might need to reply to the same email almost every day. Let’s admit, every day, we receive hundreds of emails, and replying to all of them one by one is not possible. Responding to the same emails repeatedly can become monotonous and highly time-consuming for any busy person. There are times when we all have wished to set up automated replies on Gmail. Let’s assume you are running a store and receive frequent product enquire emails. In such a case, setting up an automated reply could be a good idea to let the sender know that you have received the email and would reply shorty. However, Gmail doesn’t provide you any direct option to set automated replies to any particular contact. Also Read: How to Free up Storage Space in Gmail (Quick Trick)
Steps to Set Up Auto Reply Messages in Gmail
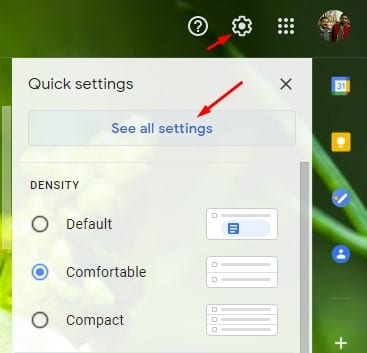
To set up automated replies for a particular contact, you need to create a new template and set up a filter. If you are interested in setting up an Auto-Reply in Gmail, then continue reading the article. Here we will share a step-by-step guide on setting up a Gmail auto-reply message. Let’s check out. Step 1. First of all, login to your Gmail account from your desktop web browser. Step 2. Now click on the Settings gear, and click on ‘See all settings’
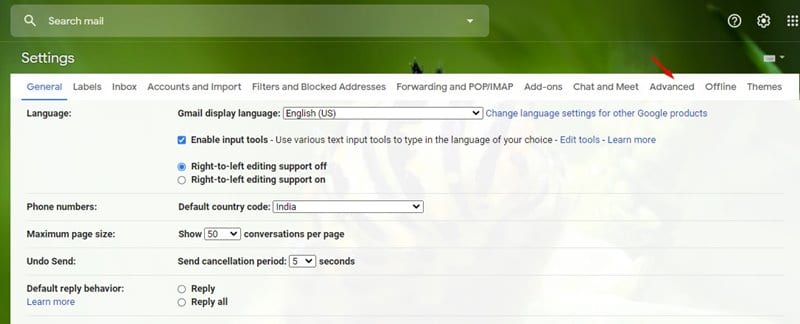
Step 3. Now on the Settings page, click on the Advanced tab.
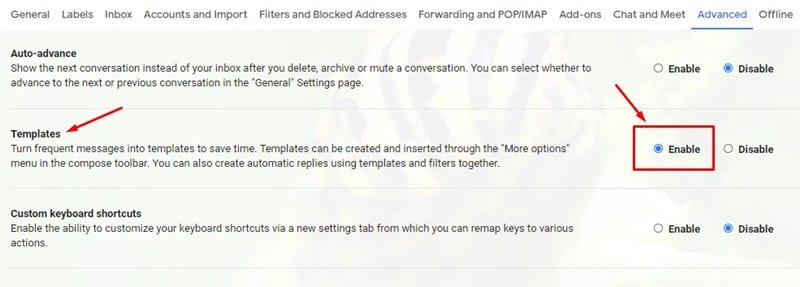
Step 4. On the Advanced page, scroll down and enable the ‘Templates’ option.
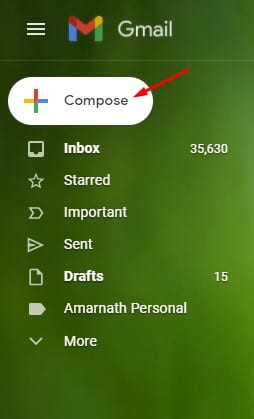
Step 5. Next, scroll down and click on the ‘Save Changes’ button. Step 6. Now move to the Gmail home page, and click on ‘Compose.’
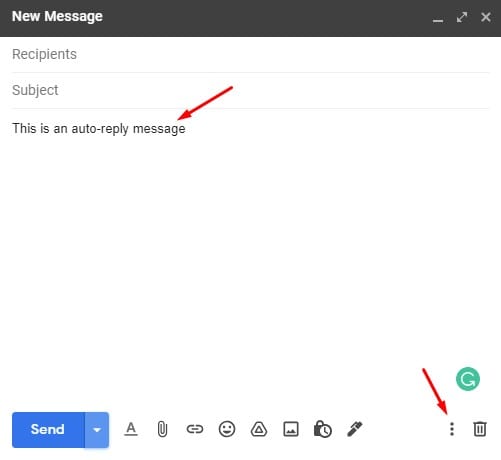
Step 7. Now compose the template you want to use for automatic replies. Once done, click on the three dots as shown below.
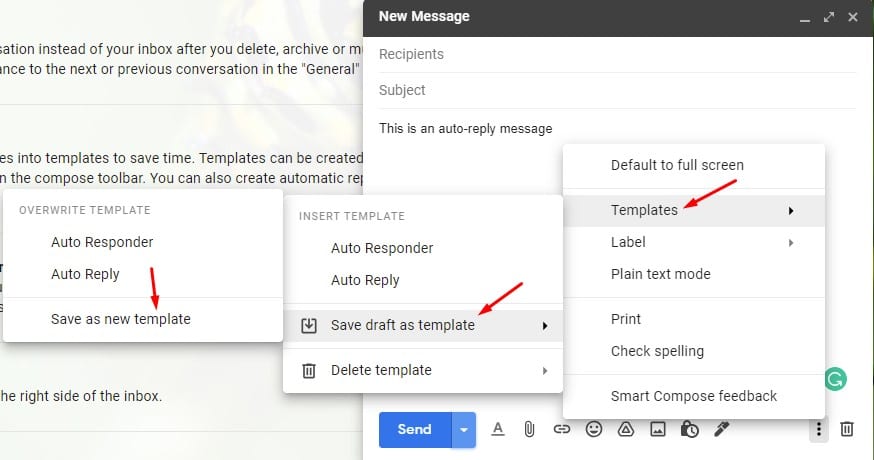
Step 8. Click on the Templates > Save draft as template > Save as New template option.
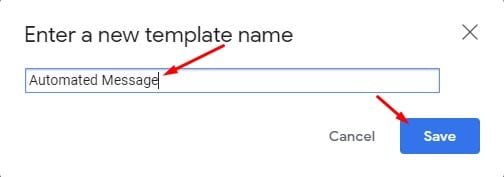
Step 9. Next pop-up, enter a new template name, and click on the ‘Save’ button.
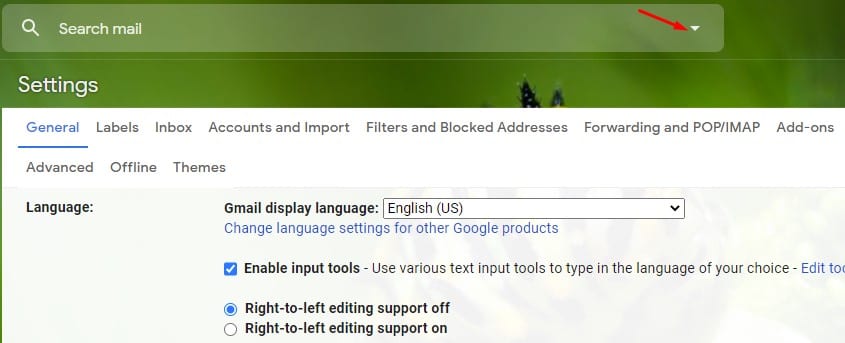
Step 10. Now click on the Search option arrow in the search box as shown below.
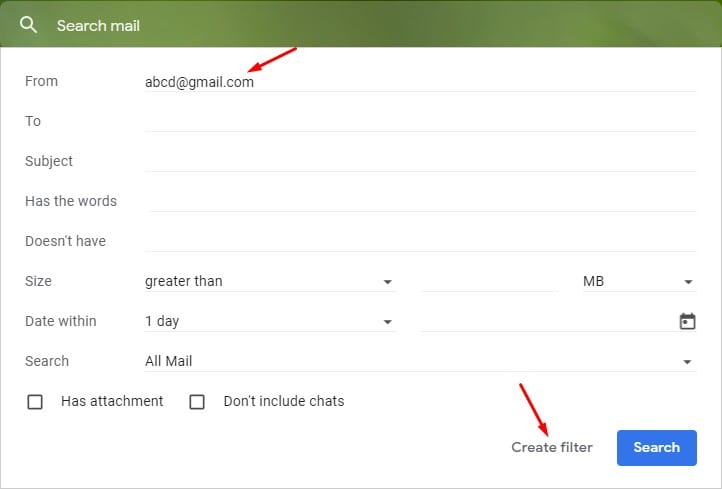
Step 11. Now you need to define the criteria for the automated reply filter. The criteria could be a name, email address or any particular word, etc. Once done, click on the ‘Create filter’ option.
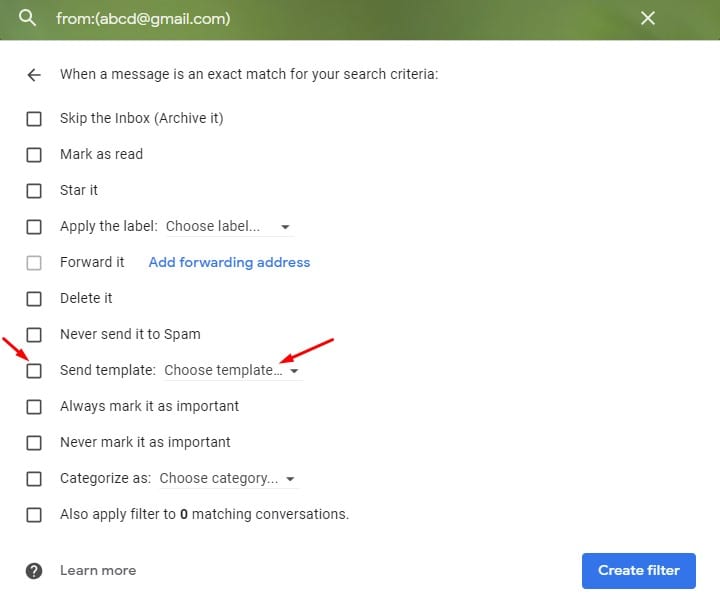
Step 12. On the next page, check the ‘Send Template’ option and select your newly created template.
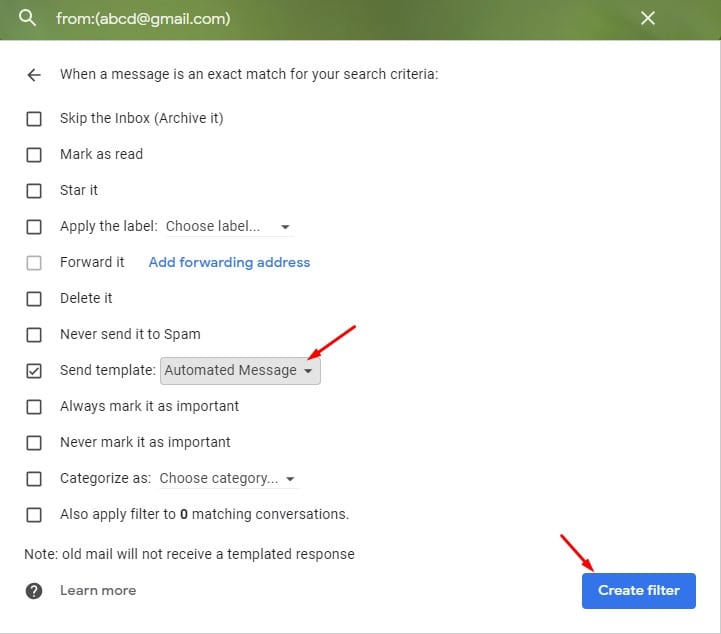
Step 13. Once done, click on the ‘Create Filter’ option.
That’s it! Now, if an email matches the criteria you have set, the auto-reply message will be forwarded.
How to Disable the Auto Reply Filter?
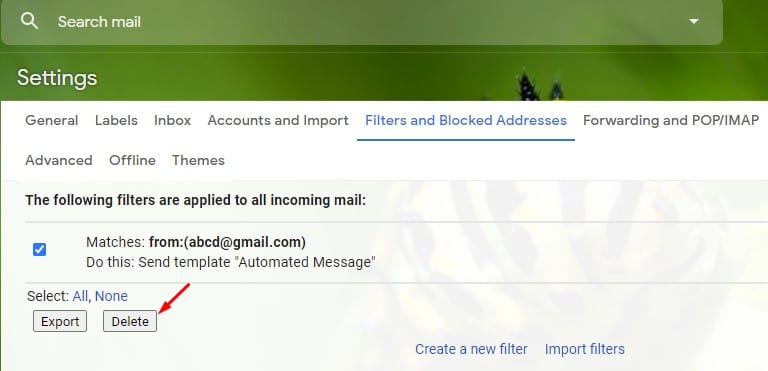
Suppose you wish to disable the auto-reply, head to the Settings > Filters and blocked address. Select the active filter and click on the delete button.
That’s it! You are done. This is how you can disable the auto-reply in Gmail. This article is all about how to set up an auto-reply in Gmail. I hope this article helped you! Please share it with your friends also. If you have any doubts about this, let us know in the comment box below.